Ubuntu Studio
Let me get started in saying this may not work on a old computer from 1999. But it will defiantly work on anything that can run at least windows 7. If you're unsure what Ubuntu is, well simply put it's a Operating system like "MacOS" or "Windows". The big difference is its free and open source!Some genius decided to make a version of Ubuntu with the artist in mind! So I'd like to introduce you to Ubuntu Studio!
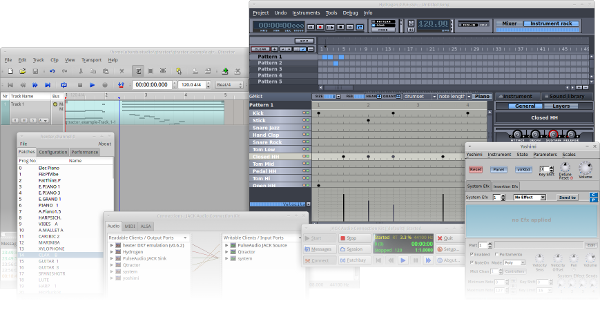
Ubuntu Studio comes loaded with everything you need to start recording or making beats!
Some of the Audio software that comes included:


Some of the Audio software that comes included:
Ardour
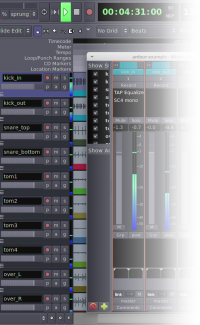
Ardour is a Digital Audio Workstation (DAW), suitable for recording, mixing and mastering. Some of its features include:


- Unlimited audio tracks and buses
- Non-destructive, non-linear editing with unlimited undo
- Anything-to-anywhere signal routing
- Unlimited pre- and post-fader plugins
- 32 bit floating point audio path
- Automatic track delay compensation
- Sample accurate automation
- Standard file formats (BWF, WAV, WAV64, AIFF, CAF & more …)
- More than 200 LADSPA & LV2 plugins freely available
- MIDI CC control with 1 click
- Level 2 MIDI Machine Control
- MIDI Timecode (MTC) Master or Slave
- Full integration with all JACK applications
- Video-synced playback, pull up/pull down
Sequencers and Synthesizers
Ubuntu Studio comes installed with other notable applications such as:
- Audacity – Audio Wave Editor
- Qtractor – midi capable DAW
- Hydrogen – Drum machine / Sequencer
- Yoshimi – Software Synthesizer

Virtual Guitar Amps
Rakarrack (preinstalled) and Guitarix are two popular guitar amp simulators.

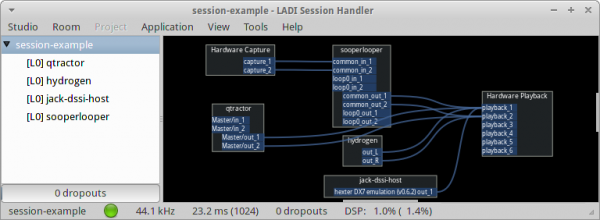
Jack Session
Gladish will enable you to start applications, make connections between them, and save the whole configuration to file. Gladish is also an alternative to Qjackctl.

Audio Programming
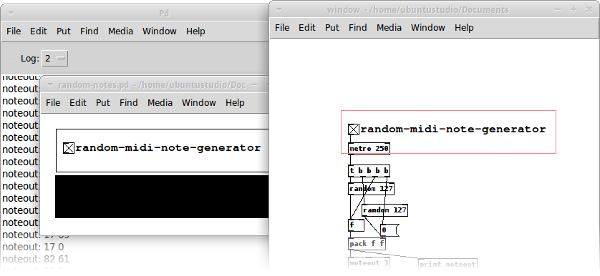
There are numerous easy to use audio programming environments available to Ubuntu Studio, such as the preinstalled puredata. Others are installable, such as supercollider, csound and chuck.

WHAT YOU NEED TO INSTALL UBUNTU STUDIO
1. USB 4gb or more
2. Software to burn a ISO (for this tutorial we will use Rufus)
Once you have everything ready is really simple. What you will do is plug in the USB, open the software you picked from the list provided. For this tutorial we will be using Rufus.
Once you have the ISO burned onto your USB you will simply plug the ISO into your computer and it should boot from USB and give you the option to install Ubuntu Studio. If your computer boots normal you may need to access the boot menu.
If you need to change your boot menu follow this tutorial below, most the time it's either F2, F11, or F12 to access the boot menu.


